AI
The AI (Analog Input) panel allows users to perform analog signal measurements for voltage or current. Through this interface, you can configure acquisition channels, sampling modes, and sampling rates, and view signal waveforms in real-time.
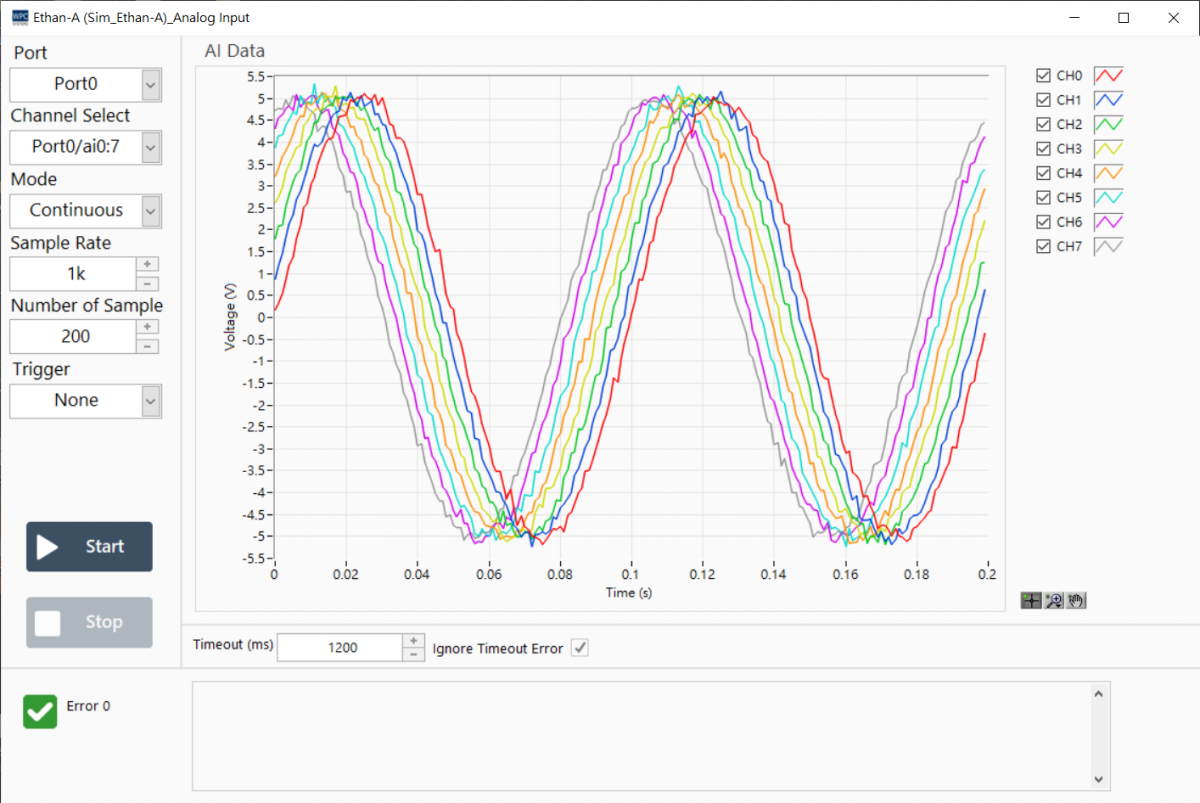
Operation Flow
Please follow the steps below to configure AI signal measurement settings:
1. Select Port
First, confirm your device model and select the corresponding port (Port) and channel.
| Product Name | Port | Measurement Type |
|---|---|---|
Ethan-A | 0 | Voltage |
Ethan-A2 | 0 | Voltage |
Ethan-I | 0 | Current |
Ethan-IA | 0, 1 | 0: Current 1: Voltage |
USB-DAQ-F1-AD | 0 | Voltage |
USB-DAQ-F1-AOD | 0 | Voltage |
Wifi-DAQ-E3-A | 0 | Voltage |
Wifi-DAQ-E3-AH | 0 | Voltage |
Wifi-DAQ-F4-A | 0 | Voltage |
2. Channel Selection
Select the range of channels to be enabled from the Channel Selection drop-down menu.
| Option | Description |
|---|---|
port0/ai 0 | Enable only channel 0 |
port0/ai 0:1 | Enable channels 0 to 1 (2 channels in total) |
port0/ai 0:3 | Enable channels 0 to 3 (4 channels in total) |
port0/ai 0:7 | Enable channels 0 to 7 (8 channels in total) |
3. Select Acquisition Mode (Mode)
Select the appropriate acquisition mode based on your measurement needs:
- On Demand (Single Read): The software sends one command, and the device returns one current value. Suitable for low-speed monitoring that does not require continuous waveforms.
- N Sample (Finite Point Read): Set a fixed number of sampling points, and stop after acquisition is complete.
- Continuous (Continuous Read): Continuously acquire data until the Stop button is pressed. Suitable for long-term signal recording or oscilloscope monitoring.
4. Set Sampling Rate
Set the number of points acquired per second (Samples per second). The maximum sampling rates supported by different devices are as follows:
| Product Name | Sampling Rate Description |
|---|---|
Ethan-A | 20 kS/s (8-channel sync) |
Ethan-A2 | 10 kS/s (8-channel sync) |
Ethan-I | Only supports On Demand mode |
Ethan-IA | Only supports On Demand mode |
Wifi-DAQ-E3-A | 10 kS/s (8-channel sync) |
Wifi-DAQ-E3-AH | 10 kS/s (8-channel sync) |
| Other USB-DAQ | Please refer to the product datasheet |
5. Other Parameter Settings
Adjust the following advanced parameters as needed:
- Number of Sample: The number of points read from the buffer each time (affects chart update frequency).
- Timeout (ms): The timeout for reading data; if no data is read within this time, an error is returned.
- Ignore Timeout Error: If checked, timeout errors will be ignored, and the program will continue to execute.
- Trigger: Set trigger conditions (select
Noneif there are no special requirements).RTC-Absolute: Absolute time trigger.RTC-Relative: Relative time trigger.
6. Start Measurement
After the settings are complete, operate the buttons below to control the measurement:
| Button | Function |
|---|---|
| Start | Start signal acquisition |
| Stop | Stop signal acquisition |