Introduction and Installation
Introduction
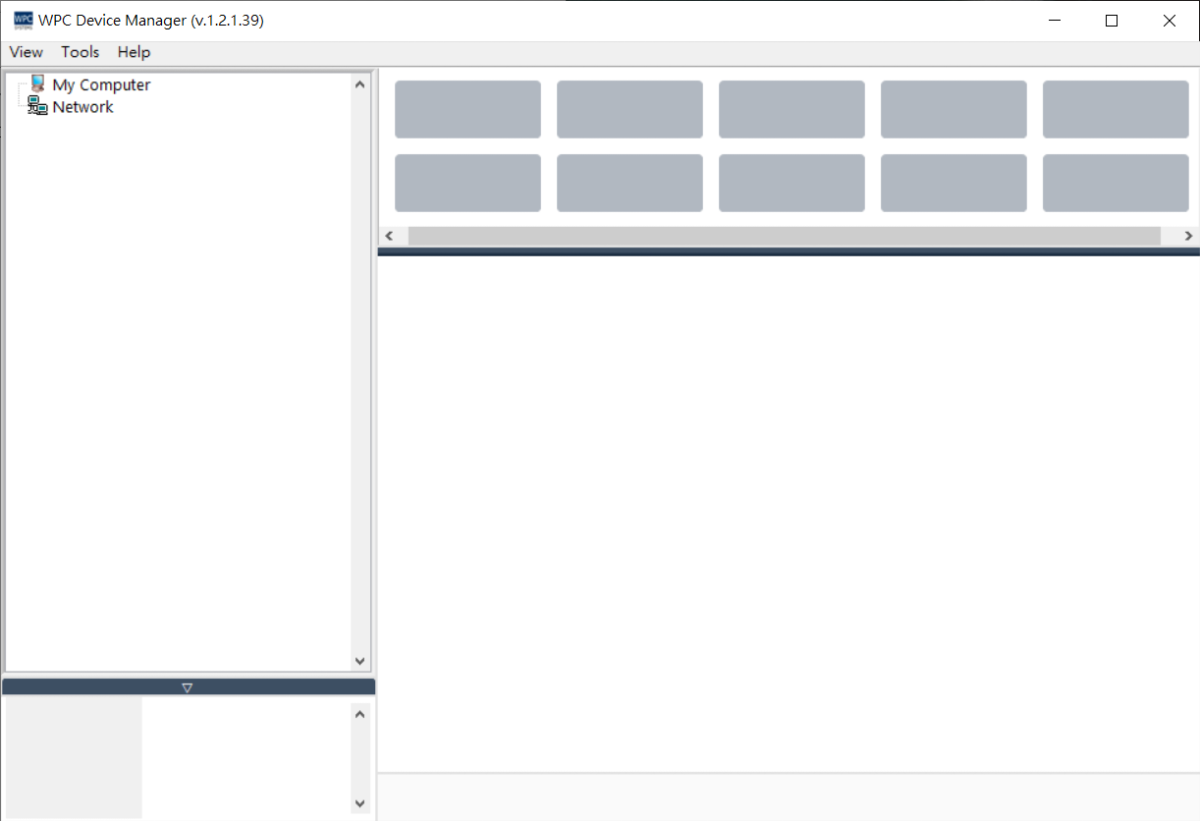
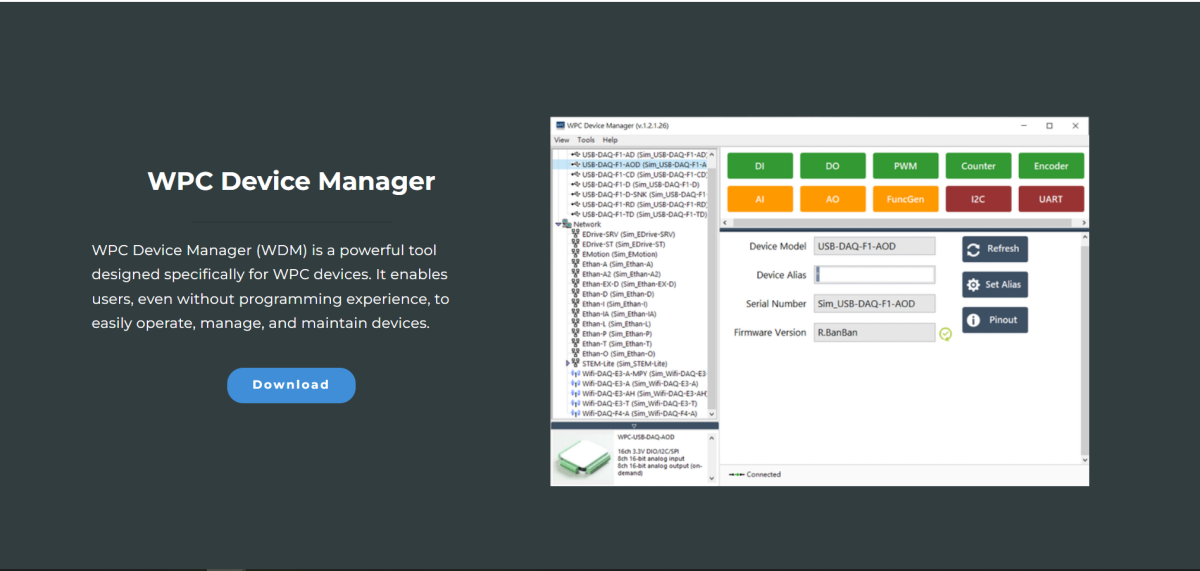
WPC Device Manager (WDM) is a comprehensive management tool designed specifically for WPC products, aimed at assisting users in efficiently operating, configuring, and maintaining various devices. Through an intuitive operation interface, users can easily complete device management tasks without needing a programming background.
The core functions of WDM include:
- Device Search: Automatically scan and identify available WPC devices within the local area network.
- Device Configuration: Provide complete network parameter settings and Simple Network Time Protocol (SNTP) timing functions.
- Pin Status: Real-time monitoring and display of the device's digital I/O and digital pin status.
- Test Panel: Built-in interactive test panel for users to perform functional verification and control.
- Firmware Update: Provide a quick and secure firmware update mechanism to ensure the device maintains the latest version.
Download and Installation
Step 1: Download WPC Device Manager
Please visit the official WPC website to download the latest version of WPC Device Manager.
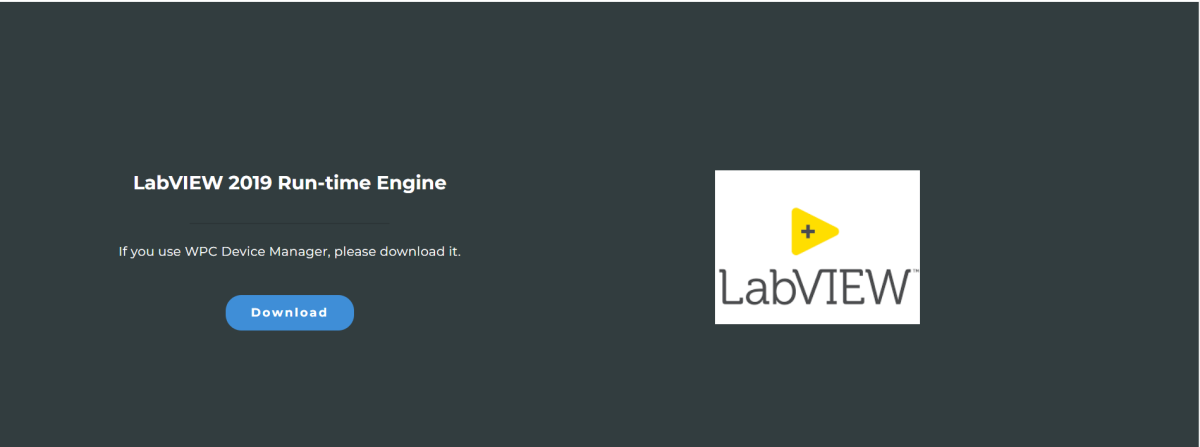
Before running this software, the LabVIEW Run-Time Engine 19.0 environment must be installed.
Step 2: Download and Install LabVIEW Run-time Engine 2019
Open WPC Device Manager
- Decompress the downloaded WPC Device Manager file.
- Open
WPC Device Manager.exe.
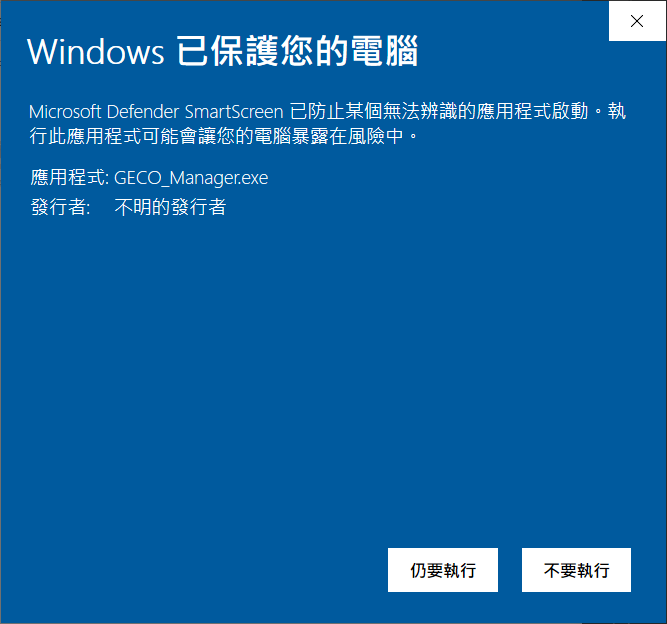
Handling Windows Security Warnings
If Windows displays a "Windows protected your PC" or "Unrecognized app" warning:
-
Click "More info".
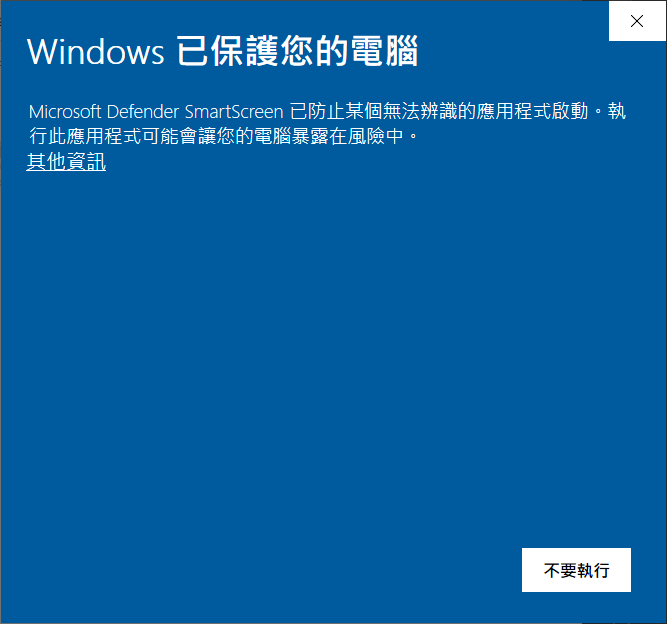
-
Click "Run anyway".
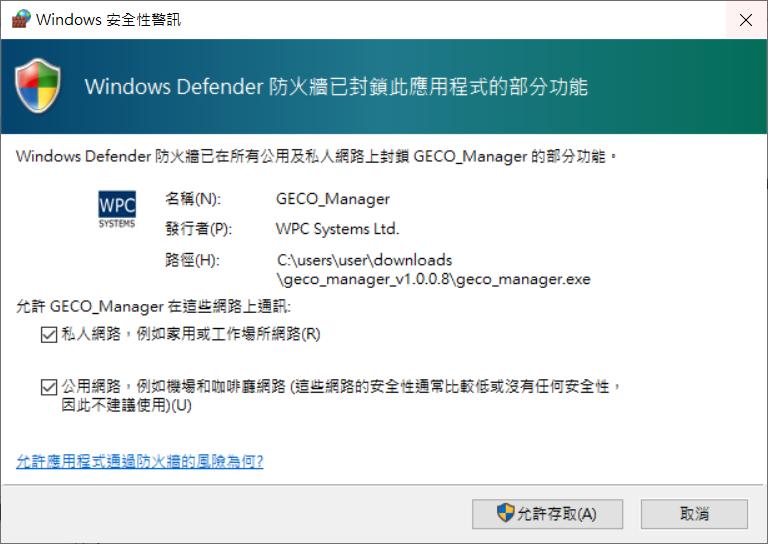
Firewall Settings
Upon the first opening, the Windows Firewall might block some functions.
- Check "Private networks" and "Public networks".
- Click "Allow access".
Once opened, WPC Device Manager will automatically search for WPC devices.